The nanomister
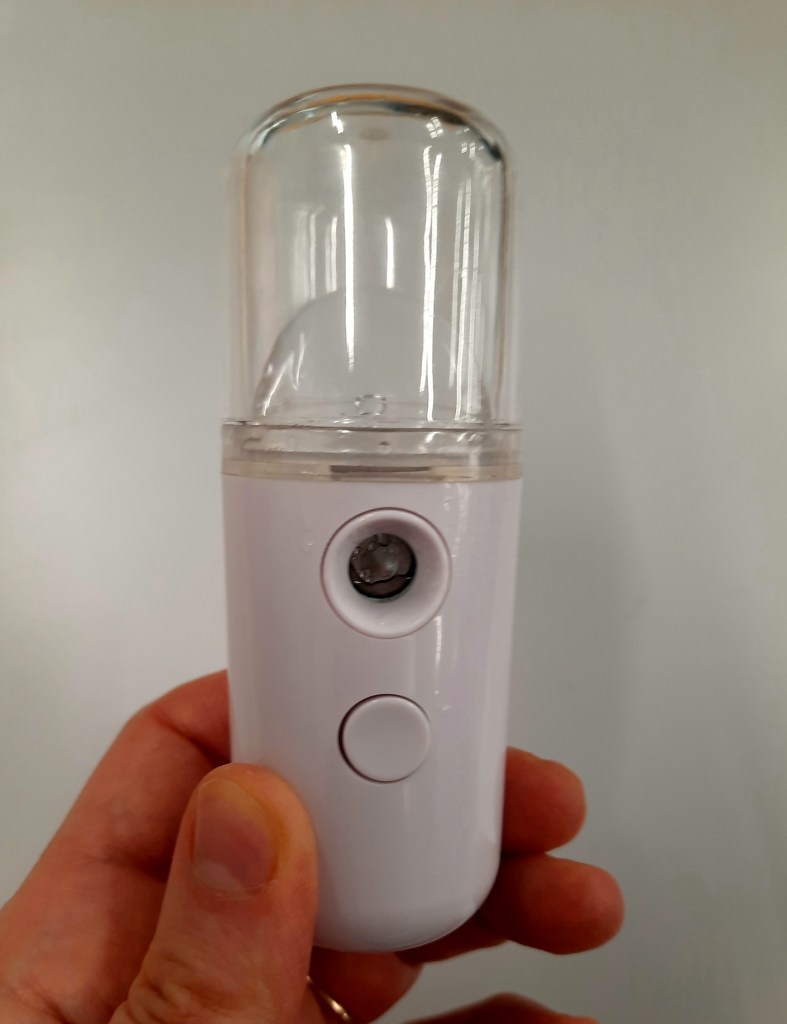

I recently purchased this device and am very happy with it. There are literally thousands of models online, so it’s hard to find THE right one. From the most basic to the most fanciest l, the nano-mister is used by the fashionista to cool the vapours of the glue which is used to adhere false eyelashes (Oh my…). For us conservators, it is useful to moisten paper or other organic materials. Nothing revolutionary here, it does the same job as an ultrasonic humidifier but in a pocket size, easy to handle, fill, empty, clean, transport and maintenance free. However, the downside is that humidification is really fast, a few seconds, so it’s not always easy to control. This is probably due to the fact that the water droplets are not as nano as advertised. In addition, mine is leaking and I always need a tea towel on hand to soak up drops of water. Once the pitfall is overcome, it is very effective to flatten the folds and creases and to relax the paper. It is also helpful to rehydrate paint layers and cracked or cupped pigment flakes, before consolidation treatment. I also used it to spray a solution of 1% sturgeon glue (with few drops of ethanol to ease penetration) in deionized water to consolidate a powdery paint and it worked wonderfully. Probably because the solution was more viscous than plain water, I didn’t have this dripping problem. To conclude, if you often do consolidation treatments, I would recommend that you buy two devices: one to first spray on the area to be treated a light mist of water and ethanol (this will prepare and relax the paint ) and a second to spray immediately after the consolidant.
Muji cosmetic sponges and cosmetic kit

The Muji cosmetic sponges 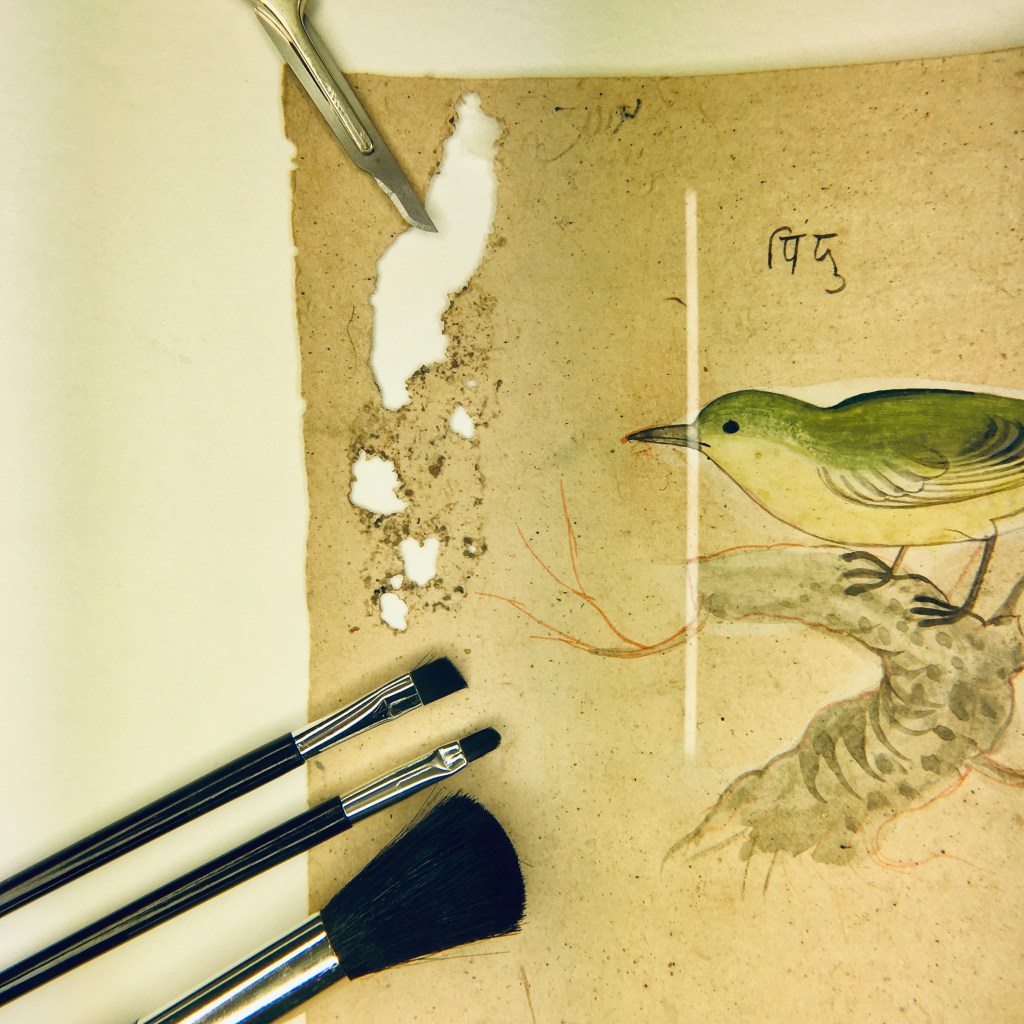
the cosmetic kit comprises several brushes of various sizes and hardness.
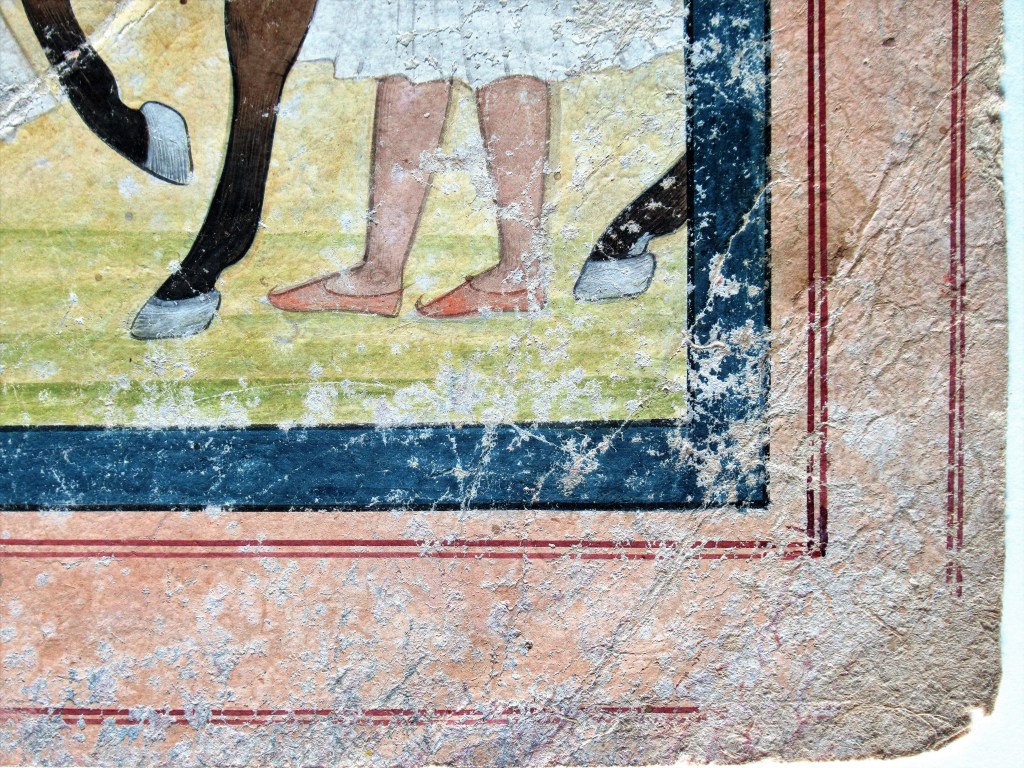
Every paper conservator will tell you: the basis of any treatment is a good surface cleaning. Well, there are many cases where cleaning is not necessary, desirable or even difficult to complete. The peculiarity of the Indian paintings and drawings that I am working on at the moment is that the paper is quite rough, very little sized and burnished. As a result, dust and dirt particles embedded in the fibrous substrate are difficult to dislodge. In addition, since most of the drawings are working documents, studied or sketches that have been handled, used, and reused, the paper supports now bear traces of use, travel, change of ownership, etc. Many of these traces must be preserved as testimonies of the past life of these objects. Before any treatment, careful examination should be carried out to determine which traces are relevant to keep and which other traces can be gently cleaned. However, I now tend to give a light overall surface cleaning more in order to remove the paper from the volatile dust particles and allow for further treatment and leave the rest in place. To do this, I like the cosmetic sponge from MUJI, the famous Japanese brand. These are made with artificial rubber. A study carried out by a team of Dutch scientists has shown that these sponges are the most harmless on the market and therefore suitable for conservation treatment. They are extremely soft and pleasant to use. However, cleaning should be done with care as any rubbing material can still lift or rub off paper fibres, especially in abraded areas. I also love my cosmetic tool kit which has a few brushes for applying makeup. It was a gift from a dear textile conservator friend who uses such a kit to clean archaeological textiles. I haven’t conducted a survey on the best kit available (I don’t have a big budget to buy every kit on the market) but I’m quite happy with this one from the PUPA brand.

The Muji sponge can be used gently on a painted surface as well 
On the reverse of a painting
The woollen felts
I own a 4 piece felt set that I treasure like my own children. These are 100% sheep wool. I use them to flatten and dry a mending. I no longer use Bondina + blotter + cardboard because I find these felts much more effective and suitable for repairing porous, fragile and absorbent paper substrates. No need to add a Bondina in between. The structure of the felt is densely compressed and smooth and therefore does not adhere to the paper. Using the felt, the repaired area dries evenly and prevents the possible formation of stains and tide lines.
The insulin syringe
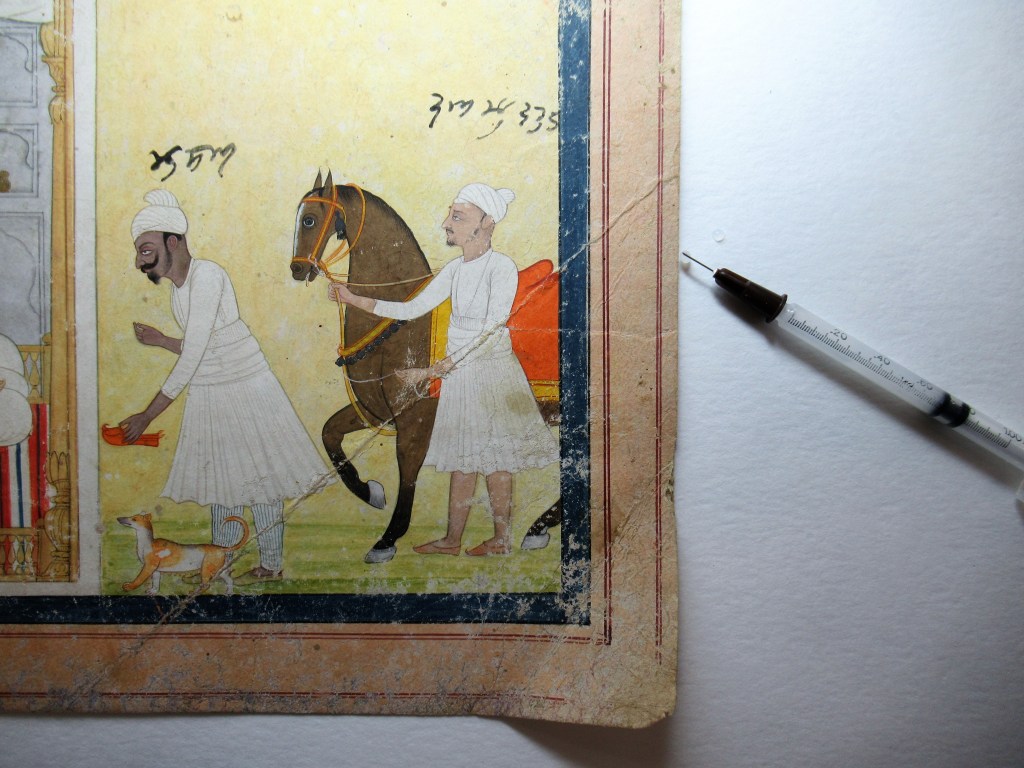
This tool is widely used by conservators specializing in wood, furniture and sculpture but I find it extremely useful when it comes to consolidating splitting support. The support of Indian miniature paintings, called vasli, consists of a structured layer of several sheets of paper adhered one above the other with paste. This provides a sturdy and flat surface and structure for the successive applications of colour and burnishing. Over time, under the action of humidity, climatic fluctuations and other external factors, the structure may become weaken and the sheets delaminate. Sometimes the support was folded, causing lifting, cracks and chips in the paint layers. The first step is to restore the cohesion between the different sheets of paper by injecting a adhesive within the support structure. The micro needle of the insulin syringe is the perfect tool for this. It allows a tiny and controlled amount of adhesive (wheat starch paste for me) to be injected directly in the substrate while minimizing further damage. After the fold is flattened or the support is reassembled, further intervention can is performed.

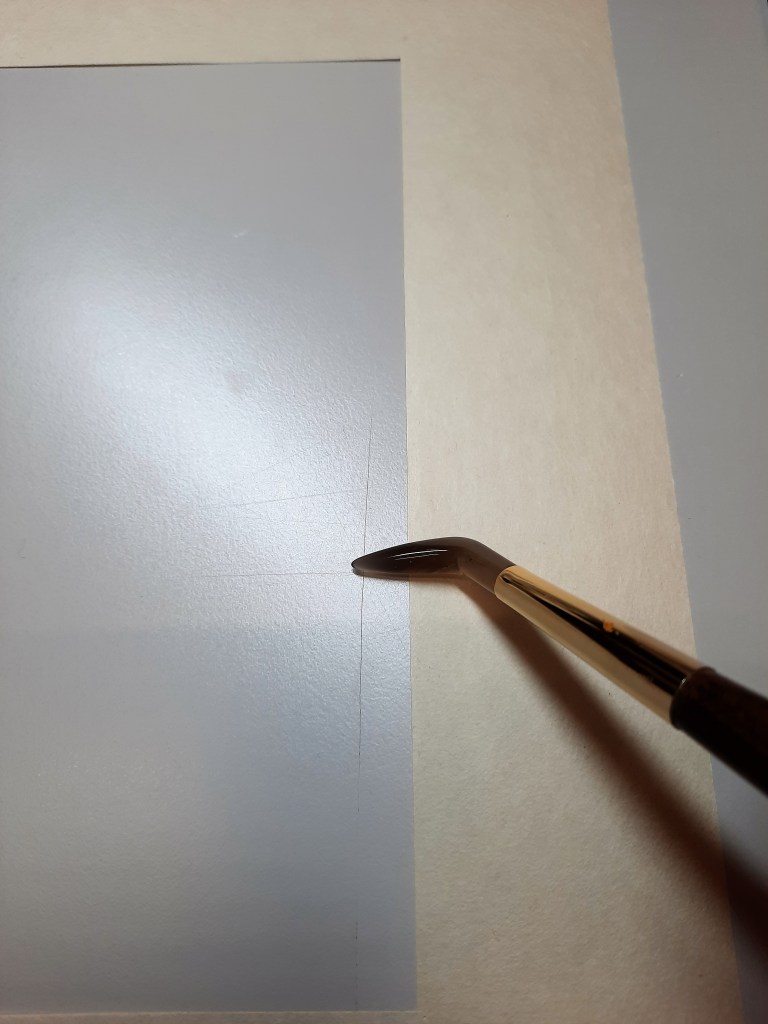
My beloved burnisher
You may be aware that Indian miniature paintings consist of a layered structure of alternate colour fill and burnish. Indian masters used an agate stone, conch shell, glass egg, or other hard and perfectly smooth mineral material to burnish paper and paint layers. From my side, I use my agate burnisher a lot: to chamfer the contour of an infill, to soften the sharp cut opening of a float window mount, to gently polish a toning or a colour reintegration and give it the appropriate gloss to match the appearance of the original painting.
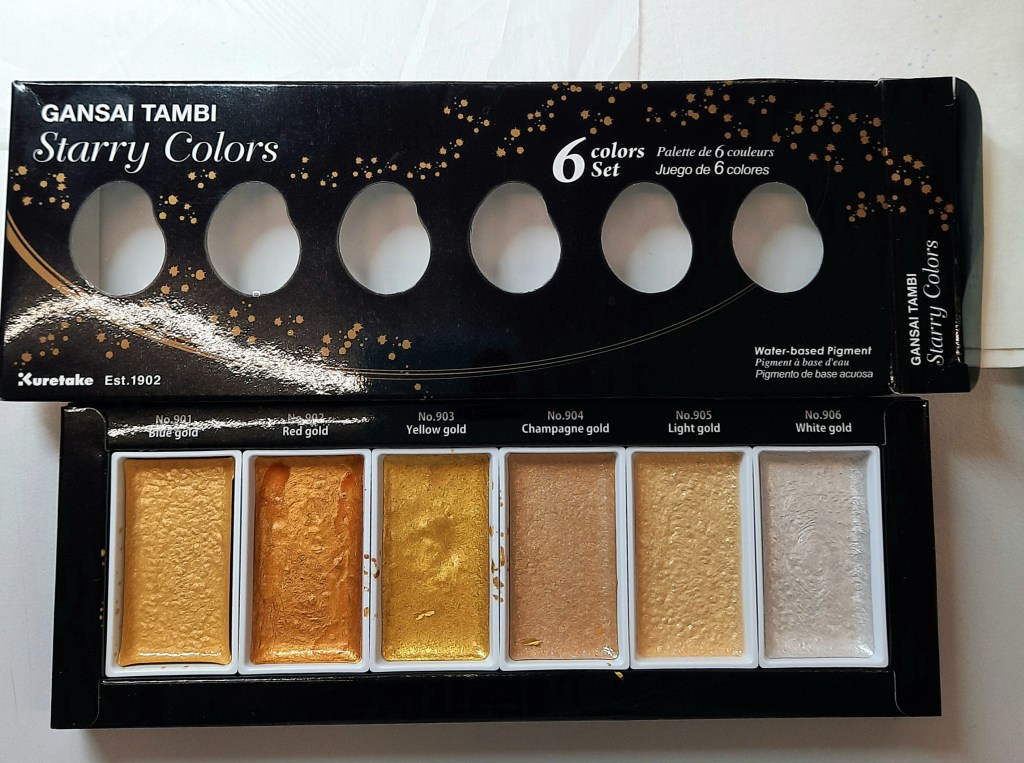
Gansai Tambi watercolour (Kuretake Brand)
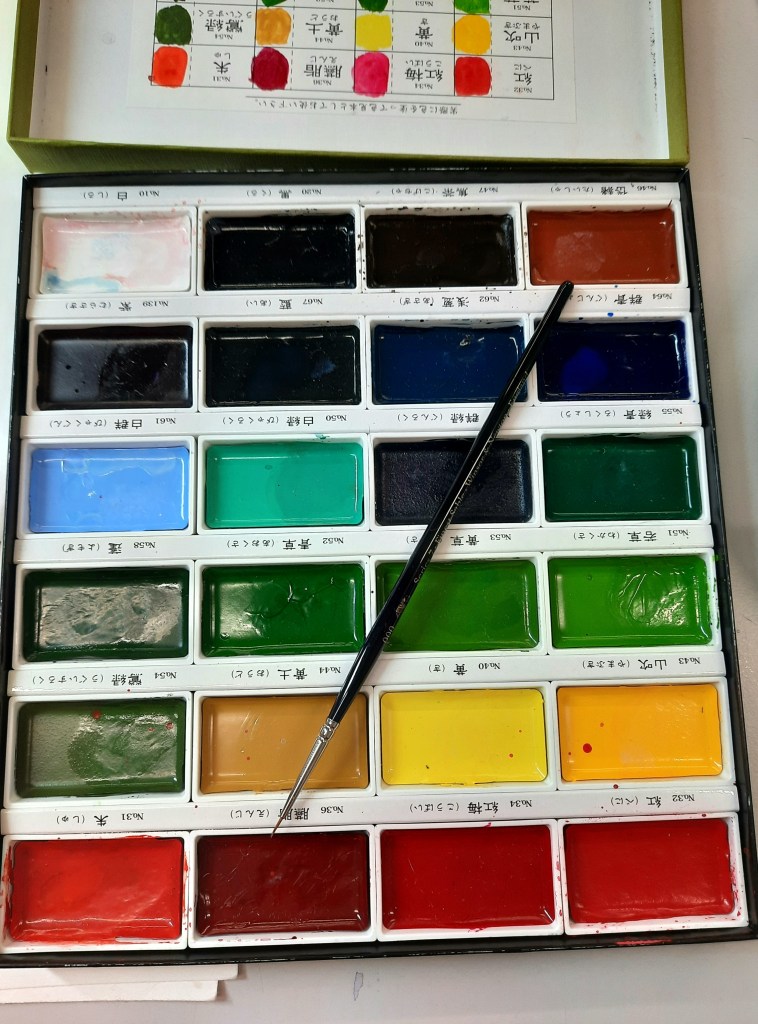
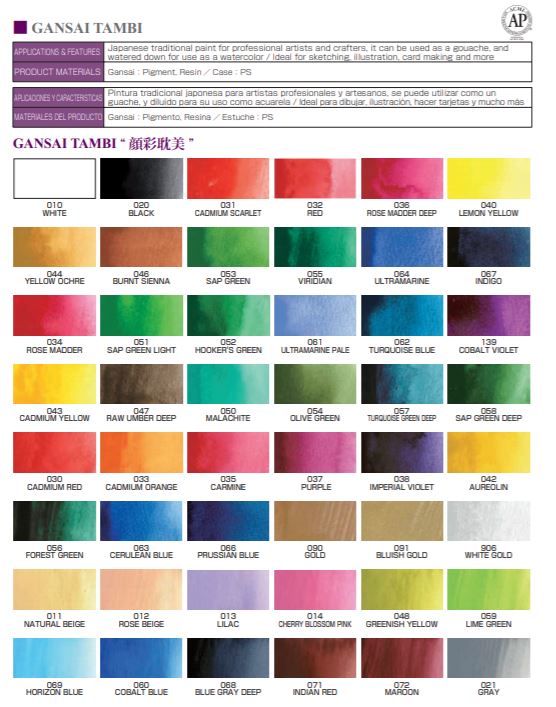
I recently discovered the Gansai Tambi watercolours from the Japanese brand Kuretake. Before, I was used to retouch, tone or paint with Windsor and Newton watercolours. These are great but they don’t have enough body to match the thick, opaque paints of Indian miniature paintings or even Islamic illustrations or illuminations. In these, the paints consist of pigments mixed with a binder and often with a mineral filler such as chalk, gypsum or lead white. The peculiarity of Indian paintings lies in the layering structure consisting of several applications of paint on top of each other after complete drying and burnishing. The final result is slightly glossy similar to enamel. It is difficult to achieve such a finish with a watercolour that has no body. BUT Gansai Tambi watercolours have body! Applied relatively thick, they have good covering power and are shiny. The problem is, it can be a little too shiny. To remedy this, I have no hesitation in using them alongside the usual Windsor and Newton watercolours. I contacted the Kuratabe customer service to inquire about the composition of the paint and the sale agent told me that these were made from pigments, gum Arabic and sugars, the latter being responsible for the shimmering aspect of the dried paints.

Kuratabe’s Starry Colours Gold Palette is also awesome, it comes in six different shades of gold (blue, red, yellow, champagne, clear and white) and it’s also fantastic to tone or inpaint missing part of a gilded design… until I find the time to make my gold shell painting myself !
Rehydratable solid blocks of gellan gum
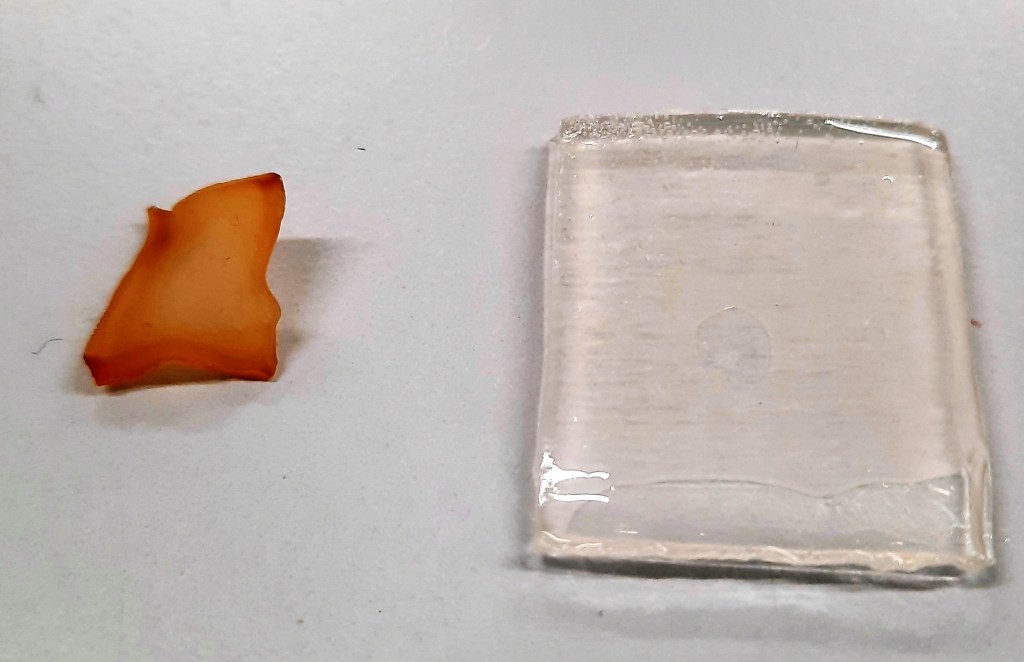
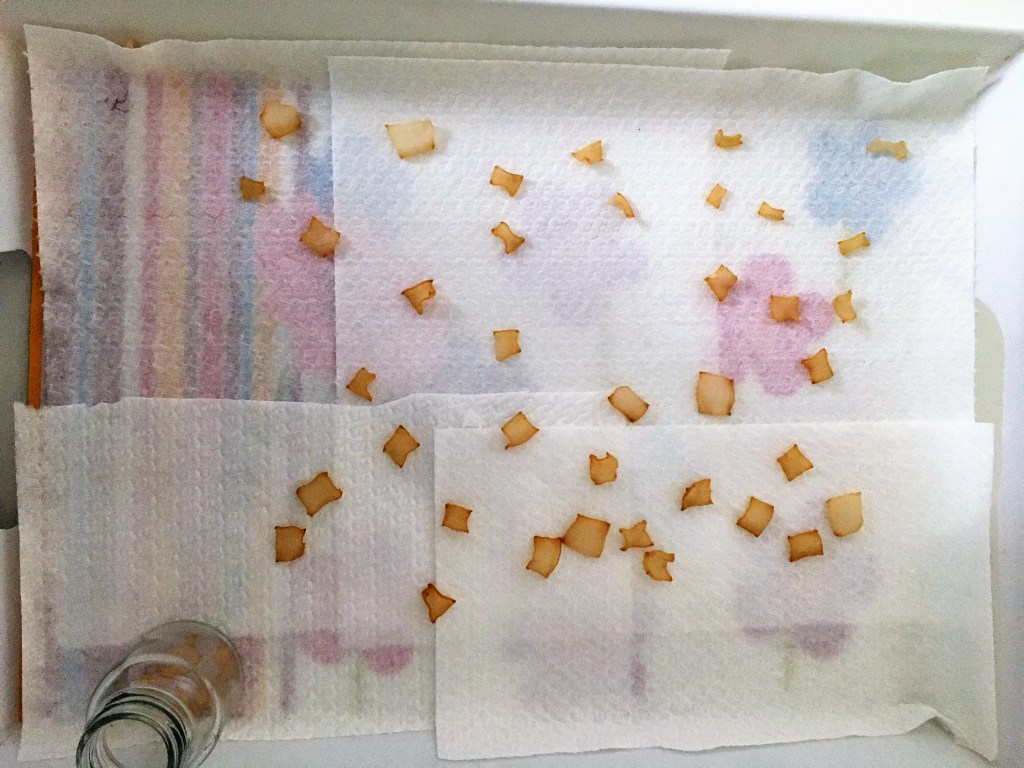
Again the advantages and usage of solid gels do not need to be detailed further here. Many good articles have demonstrated the various applications of gellan gum or agarose gel in sheet or in small block to remove old repairs and tapes, reduce stains, dirty spots and discoloration. However, most of the time, a small block is necessary depending on the procedure, and a week later, the entire gel sheet is found mouldy in the refrigerator. Such a waste … To avoid that, I stored pieces of dry gel. I prepare the gellan gum as needed (usually 2%) and once it’s ready I let the temperature drop down a bit and I pipette a few drops of ethanol into the still liquid gel. Then I pour it into a Mylar tray.
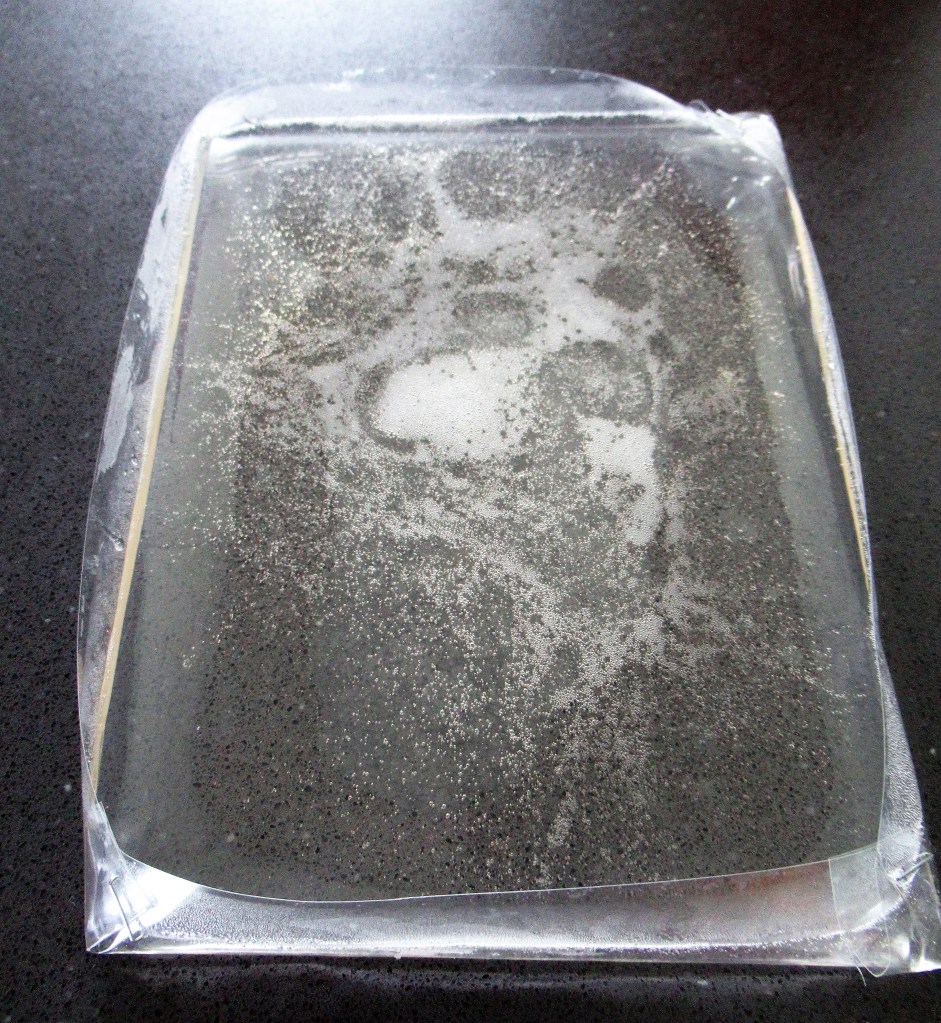
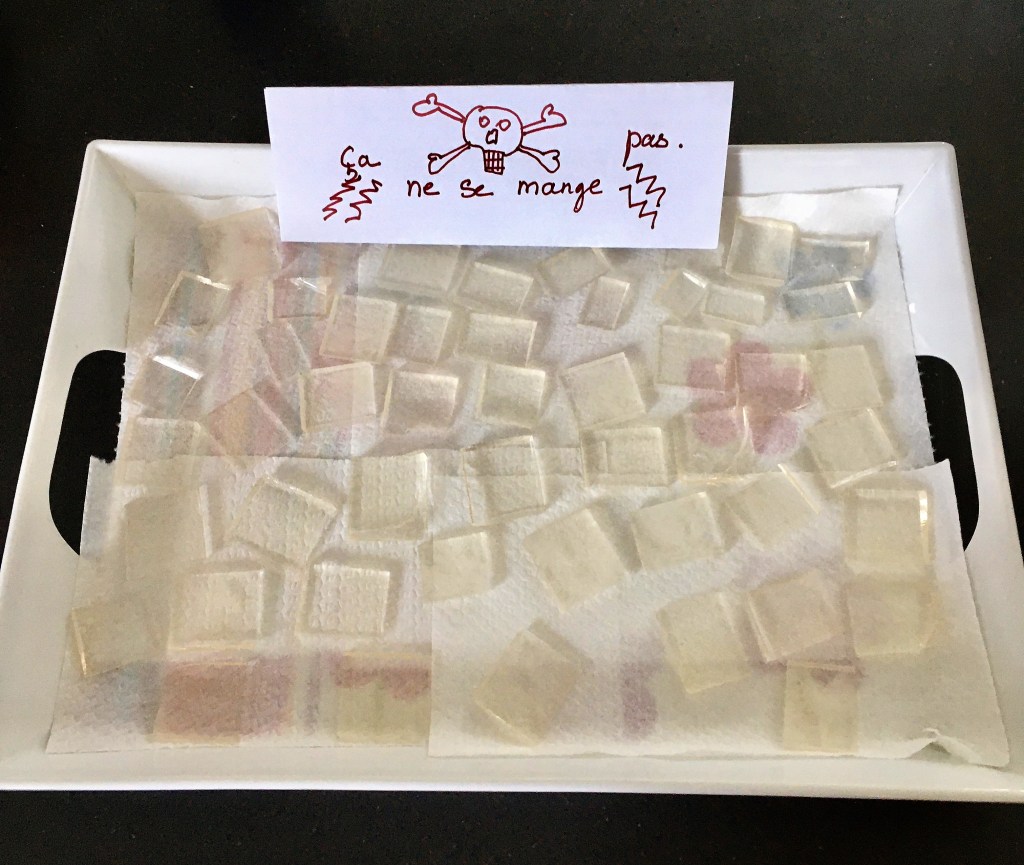
Once it’s completely cooled and solidified, I cut small squares of 1,5 cm like mini brownies. I transfer the gellan gum squares onto a tissue paper and let them dry in an ventilated atmosphere. The blocks dry out and shrink to become like little pork rinds (don’t ask me why they are red !). When I need a block, I rehydrate the dry block in a bit of water. As the rehydration process takes some time, around 8 hours for a complete reshaping, it is best to schedule the operation the day before.
I would love to hear about your tips and tools, so please don’t hesitate to post them below !

As a fellow private paper conservator, I appreciate you posting these tips.
Best, Sarah
LikeLike